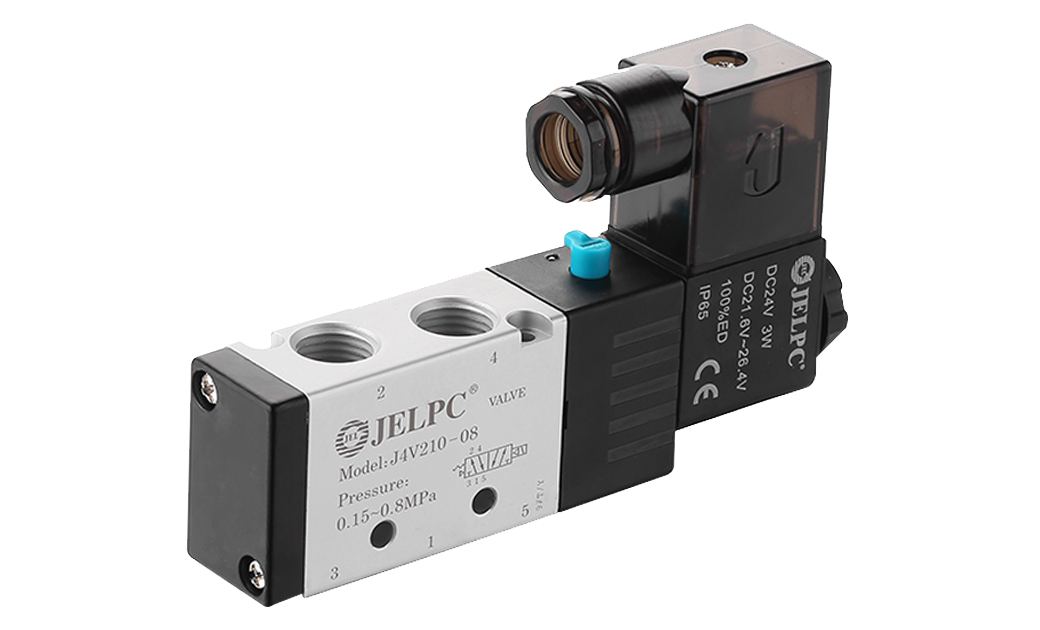
Cleaning the inside of a pneumatic control valve is an essential maintenance task that ensures its optimal performance and longevity. Follow the step-by-step guide below to clean the internal components of a pneumatic control valve effectively:
1. Ensure Safety: Before performing any maintenance, make sure to turn off the air supply and depressurize the system completely. It is crucial to prevent any accidental release of pressurized air.
2. Disassemble the Valve Body: Refer to the manufacturer's instructions to disassemble the pneumatic control valve from the pipeline system. This typically involves removing flange bolts or connection fittings and disconnecting any wires or sensors attached to the valve.
3. Clean the External Surface: Use warm water and a mild detergent or neutral cleaner to gently wipe the external surface of the valve body. This helps remove dust and dirt buildup. Avoid spraying water or cleaner directly into the valve's internal components.
4. Inspect Internal Components: Examine the internal components of the valve, such as the piston, valve discs, springs, and seals. Look for any signs of damage, corrosion, or blockages. If any components appear damaged or worn, they may need to be replaced or repaired.
5. Clean Internal Components: Use a compressed air source or an air tank to blow air through the various passages inside the control valve. This will help dislodge accumulated dust and debris. Start by blowing air from one end of the valve and gradually move to other openings, ensuring thorough cleaning of all passages.
6. Use Solvent for Stubborn Deposits: If there are stubborn deposits or residue inside the valve, you can use an appropriate solvent recommended by the manufacturer. Apply the solvent to a clean brush or cloth and gently scrub the affected areas to dissolve and remove the deposits. Take care to avoid excessive use of solvent, as it can damage seals or other components.
7. Reassemble the Valve: Once all the internal components are cleaned and dried, follow the manufacturer's instructions to reassemble the valve. Ensure that all parts are correctly aligned and tightened according to the recommended torque specifications.
8. Test and Check for Leaks: After reassembly, conduct a thorough leak test to ensure that the pneumatic control valve is functioning properly. Reconnect the valve to the pneumatic system, restore the air supply, and check for any air leaks. Adjust the valve settings if necessary.
Regular cleaning and maintenance of pneumatic control valves are vital for their efficient operation. It is recommended to follow the manufacturer's guidelines and schedule routine maintenance based on the valve's usage and environmental conditions.
No 1.Xingjia Road, Pneumatic industrial park, Xikou,Ningbo, Zhejiang Zip code 315502
+86-574-88869818
+86-574-88869826
+86-574-88869817
+86-574-88869816
+86-574-88869833
royshan@jelpc.com

Copyright Ningbo Jiaerling Pneumatic Machinery Co.,Ltd.. All Rights Reserved. 
China Proportional Valves Manufacturers
 简体中文
简体中文 English
 日本語
日本語 한국어
한국어 Deutsch